Skip to main content
Search
Search This Blog
Renee Walden - Art & Illustration
Watercolour artist . Plein air painter . Teacher
Pages
HOME
ABOUT ME
TIPS & TECHNIQUES
PURCHASE ARTWORK
VISIT MY WEBSITE
CONTACT ME
More…
Posts
Showing posts from 2019
Show All
December 31, 2019
upcoming workshop - the magic of painting outside
December 17, 2019
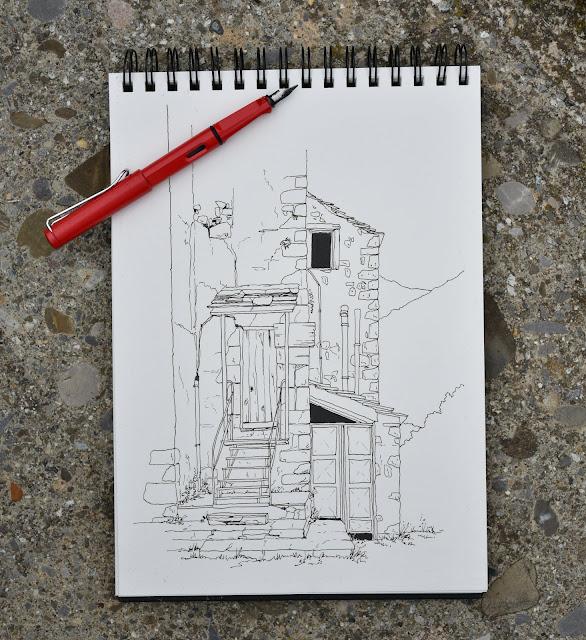
little huts
December 06, 2019
painting workshop : flowers in watercolour & ink
December 04, 2019
pyrenees lookout : painting video
December 03, 2019
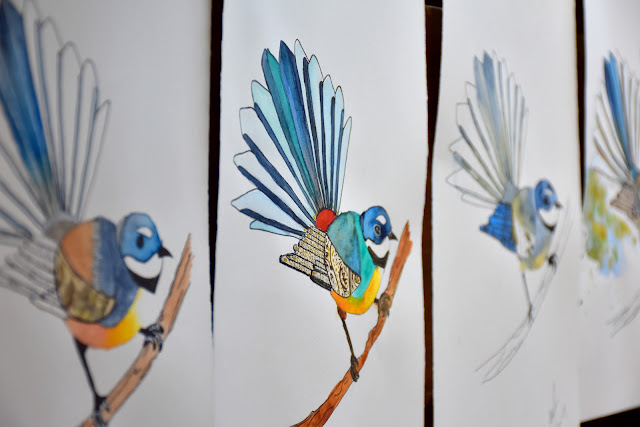
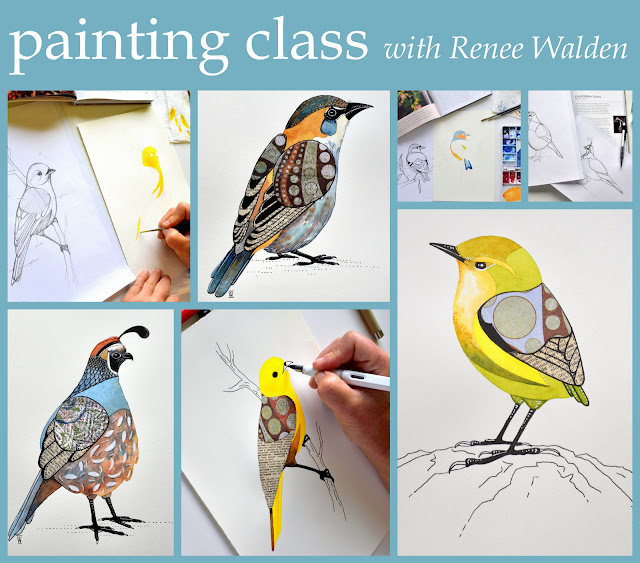
painting birds in watercolour and collage : class photos
November 14, 2019
upcoming class : painting birds in watercolour and collage
November 09, 2019
painting an old church door in watercolour
November 02, 2019
painting an iris in watercolour - step by step
July 11, 2019
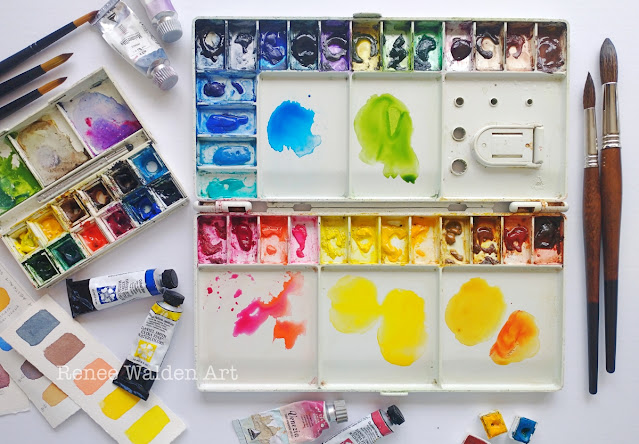
let's talk about : my watercolour palette
June 25, 2019
taking my sketchbook for a walk
May 30, 2019
santa maria de badain - step by step
May 28, 2019
there's snow on the pyrenees
May 17, 2019
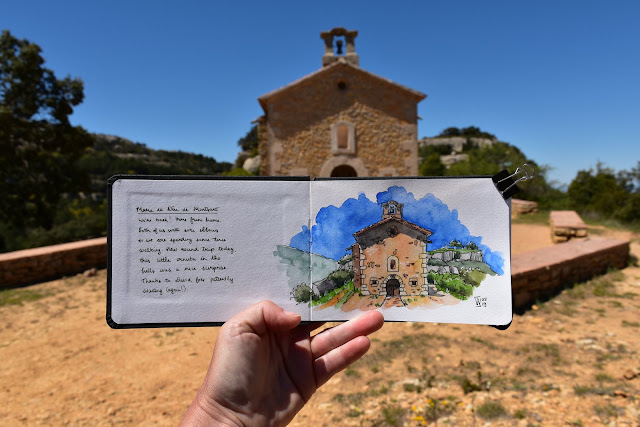
three weeks in serra de montsant
April 02, 2019
upcoming exhibition
March 29, 2019
a special commission
February 13, 2019
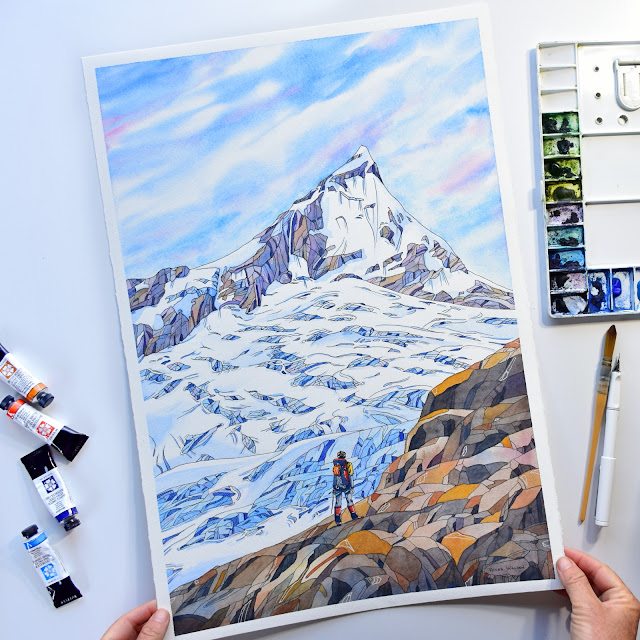
painting mt aspiring - step by step
Newer Posts
Older Posts
Home